1. License
First step to start is to get the license. Please visit phpFox website and choose package that fits your requirements.
2. Hosting
If you don't have hosting solution yet, check phpFox hosting article we prepared.
However, you always can try with such providers as vpsnet, digitalocean, asmallorange, arvixe, siteground.
Regarding packages: you can choose simple shared hosting for start, but if you're planning to set up growing network with big amount of users, it's always better to choose more advanced plans (cloud, or dedicated servers).
3. Transferring files
After that, download phpFox source, open up your FTP client (you may use FileZilla) and upload all the files to the folder on your web hosting (simply drag files to FileZilla window).
Do not upload code folder itself, just the files that are inside it (so archive's folder contents should be uploaded to the root folder of your server).
Once all the necessary files are uploaded, you will need to modify permissions for some of them. phpFox recommends to have CHMOD 777 on all files and folders recursively before installation. Anyway, we recommend to set 755 permissions on all folders and 644 on all files after installation (recursively).
The main folder structure of phpFox is
- file/
- include/
- install/
- module/
- static/
- theme/
- favicon.ico
- htaccess.txt
- index.php
- robots.txt
Now, all the files and folders should be ready for installation!
4. Installation
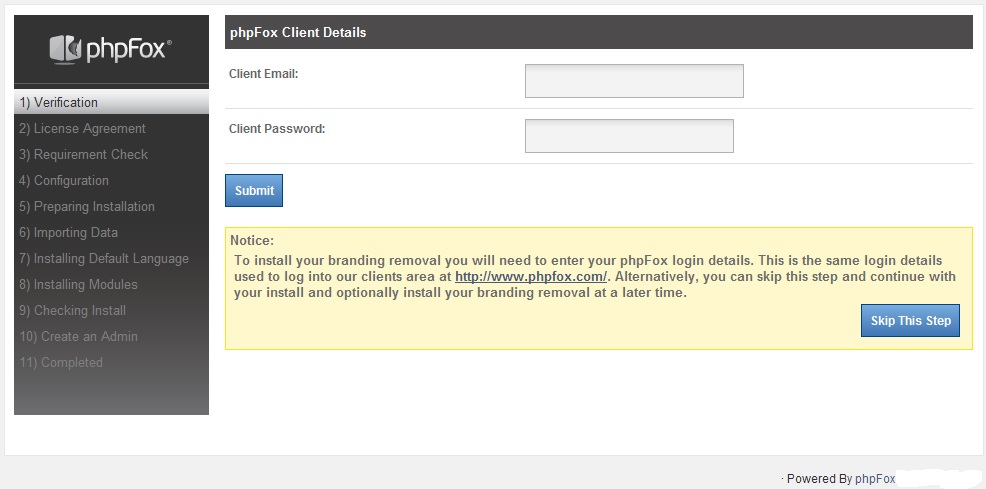
To start with phpFox script installation, in your browser go to http://yoursite.com/install/index.php and follow instructions on this page.


